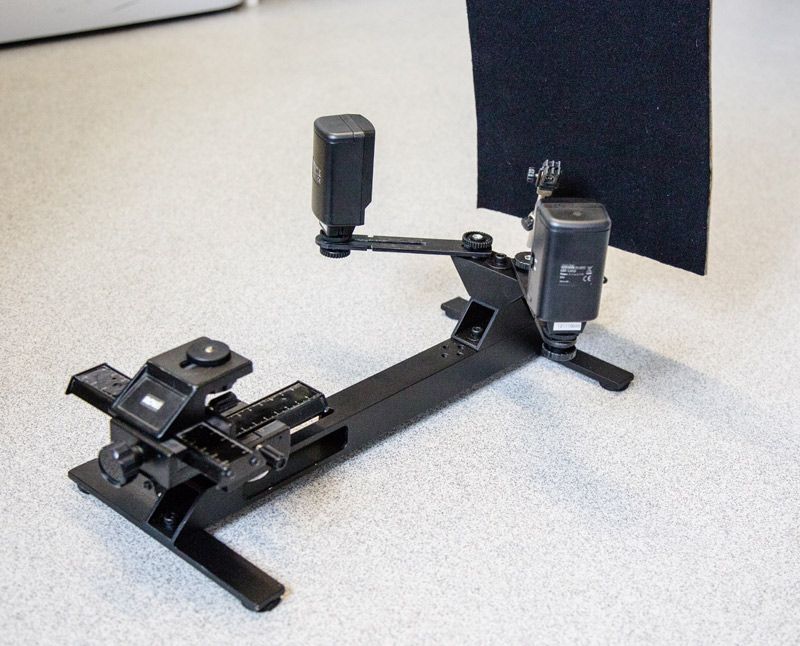
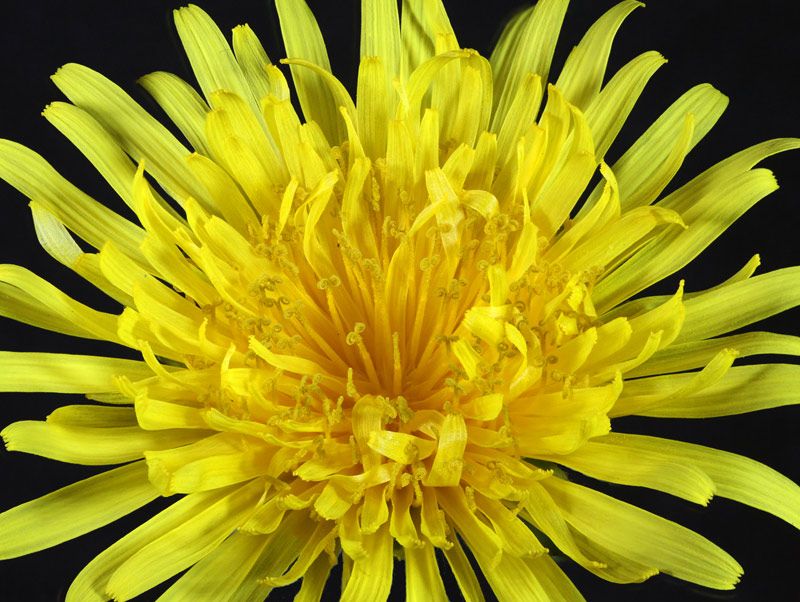
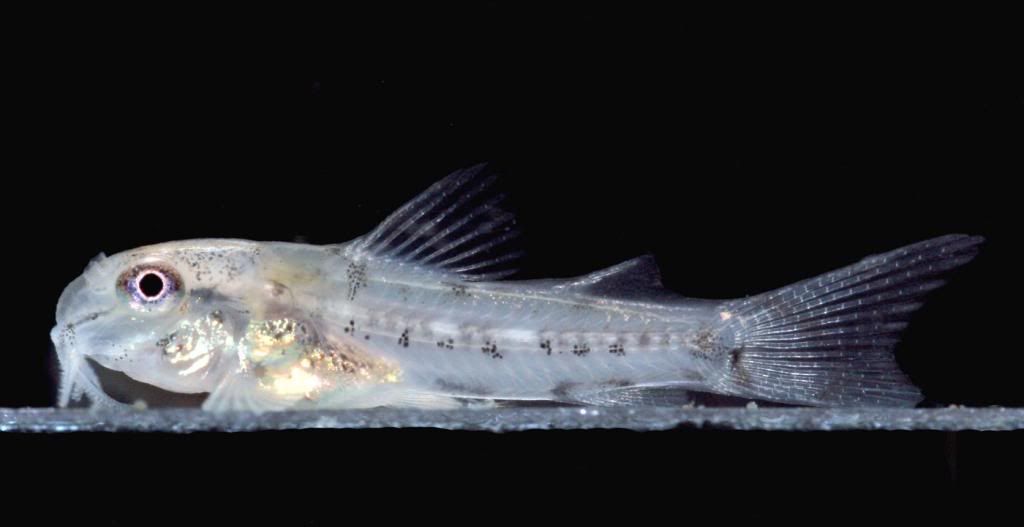
Announcement
Collapse
No announcement yet.
Macro Focusing Slide Rail
Collapse
X
-
Re: Macro Focusing Slide Rail
I have used similar.
Very useful for focus stacking shots, where you start focusing at the nearest point of your subject and move the camera forward in increments, refocus and take a shot each time. The scale on the side is very useful for determining how far forward to move the camera.Colin
-
Re: Macro Focusing Slide Rail
Originally posted by Coryman View PostI use a two directional slide rail on a self made frame. They are great for pin-point focusing in live view, especially with tiny subjects, and as Colin said great for focus stacking.
IanPeter
Feel free to browse my
Website : www.peterstockton-photography.co.uk
Flickr: https://www.flickr.com/photos/the_original_st/
Comment
-
Re: Macro Focusing Slide Rail
Apologies for butting in on this but can I ask what is meant by "focus stacking" and what does this achieve? Thanks.Andy
Canon 700D, Canon 1100D
EF 24-105mm f/4.0L IS USM, EF-S 18-55mm f/3.5-5.6 IS II, EF 70-300mm f/4-5.6 IS USM, EF 50mm F/1.8 II
[Wishlist: EF 100mm f/2.8L IS USM Macro]
Comment
-
Re: Macro Focusing Slide Rail
No apologies necessary.
When taking close up and macro subjects, depth of field is very limited and the closer you go, the worse it is. Rather than compromise as most of us do and focus on an area that will get an acceptable amount of the shot in focus, you can take tens of shots, or even hundreds of shots, each focussed on a different part of the subject and then combine them into one shot where everything is sharp and focussed using focus stacking software.
Using a focussing rail such as Ian's and with the rail and camera on a sturdy tripod, focus on the nearest part of the subject and then move the whole assembly forward on the distance scale of the focussing rail a very small amount, probably one graduation, then refocus and take another shot and so on until the whole subject has been taken.
Tedious and time consuming, but the results are quite stunning.Colin
Comment
-
Re: Macro Focusing Slide Rail
Andy, with close-up macro photography, the depth of field is very shallow, and as such, if you are imaging something like an a wasp, head-on, only the point on which you focus will be sharp.
In other words, other parts, nearer or further from the focus point, will be out of focus.
So. you would focus on say the nearest part of the subject, take an image, then move the camera forward a very small distance, to bring the next point into focus, then take another image. You would continue doing this until the entire object has been covered. I should add that you don't touch the focus adjustment on the camera.
When you have finished, you will have a series of images each one focused on a different part of the object. These will then be 'stacked' in software, to produce a composite image of the subject, with each part in focus.
Dave
Comment
-
Thank you Colin. I understand now. I assume likes of Lightroom and Photoshop CC / elements cope with this.
And thanks as well Dave.Andy
Canon 700D, Canon 1100D
EF 24-105mm f/4.0L IS USM, EF-S 18-55mm f/3.5-5.6 IS II, EF 70-300mm f/4-5.6 IS USM, EF 50mm F/1.8 II
[Wishlist: EF 100mm f/2.8L IS USM Macro]
Comment
-
Re: Macro Focusing Slide Rail
Originally posted by Dave_S View PostPeter
Feel free to browse my
Website : www.peterstockton-photography.co.uk
Flickr: https://www.flickr.com/photos/the_original_st/
Comment
-
Re: Macro Focusing Slide Rail
Originally posted by Bhuna View PostThank you Colin. I understand now. I assume likes of Lightroom and Photoshop CC / elements cope with this.
And thanks as well Dave.
They have a thirty day trial version if you fancy trying it. I tried it out without using any focusing rail just set up a flower and focussed on different areas of the flower they stacked them. See my previous post HEREPeter
Feel free to browse my
Website : www.peterstockton-photography.co.uk
Flickr: https://www.flickr.com/photos/the_original_st/
Comment
-
Re: Macro Focusing Slide Rail
Peter,
The unit was quite easy to make. Basically the centre column is a 45 cm length of 40 mm aluminium box section with two pieces of 25 mm x 6 mm flat aluminium screwed centrally at each end. I mounted one of those small soldering aid stands at one end for holding the subject, cut a 6.5 mm wide slot 12 cm long at the other and cleared the the sides to give access for the locking ring that holds the slide rail. Being a Engineer/Toolmaker was a big advantage because I have access to a milling machine, which enabled me to accurately cut the slots and position the various screw holes. The whole thing cost around £35.00 and £25.00 of it was for the focus rail. The lighting on the frame in the picture are two led units bought from Galumet at the Focus on Imaging show for £20.00.
I also made a miniature fish tank (50mm x 40 mm x 6mm) that mounts on the frame, this I use for taking images of developing fish fry.
Here are a couple of images taken using this set up. The first is a stacked image of a dandelion head. The second is a small 10 day old catfish fry that measured just 4.5 mm.
Ian
Ian
Comment
Comment